


Sender address line
[Ten rozdział nie został jeszcze przetłumaczony.]
First of all, we will create the sender address line in the
address area. This line will be seen in window envelopes later.
- Select the text tool in the tool palette.

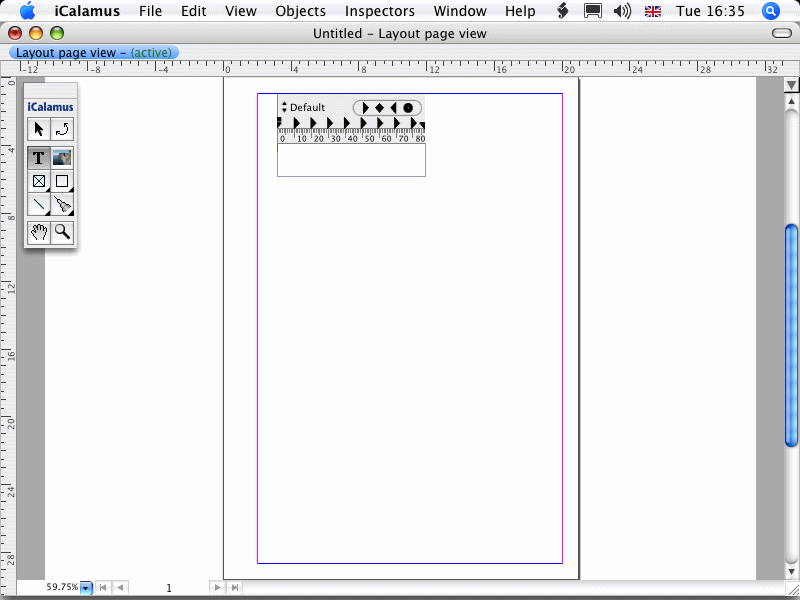
- Now click somewhere in the letter document and create a frame
by dragging a rectangular frame. Your document may look like this
afterwards:
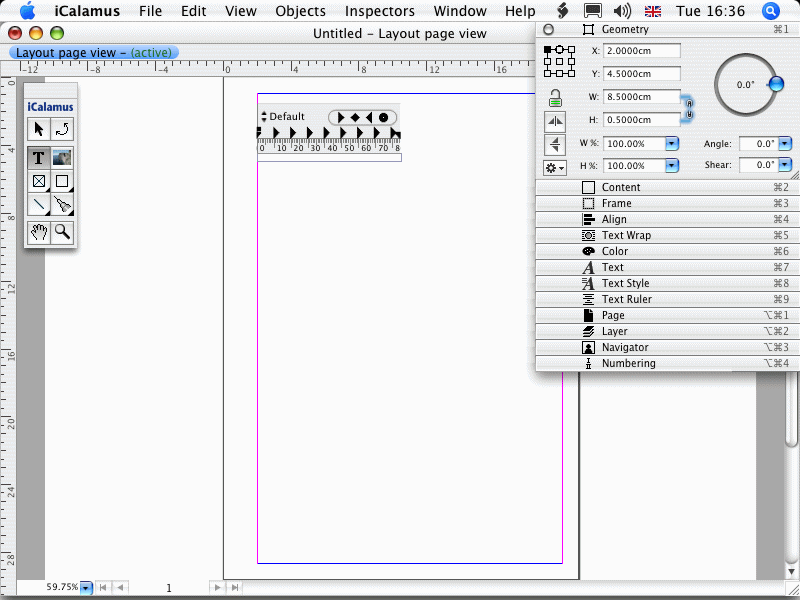
- Open the Geometry inspector now and adjust the measurements of
the created frame like shown in the next figure: X 2,0 cm, Y 4,5 cm, W
8,5 cm, H 0,5 cm.
- Now zoom to the text frame which allows easier text editing.
Therefore choose
Zoom: to Selection
in the View menu. Your
document should now look like that: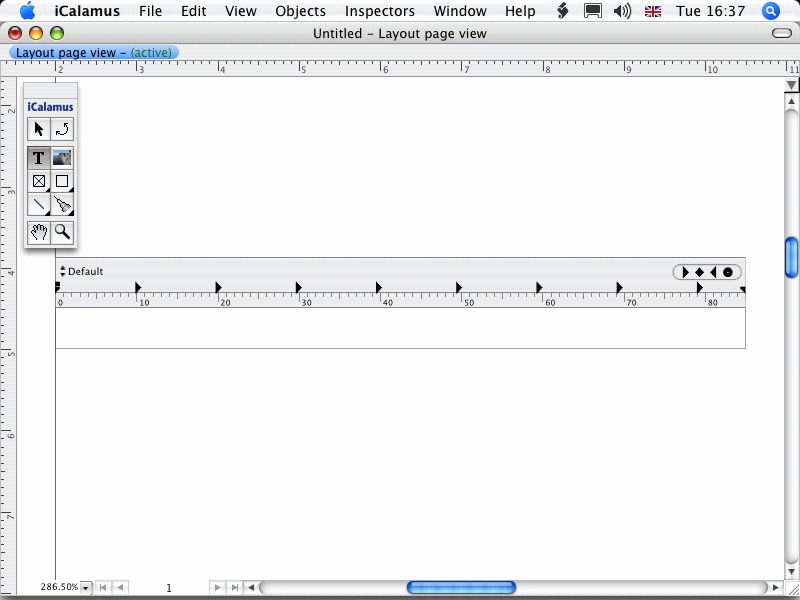
- Please enter your postal address in the text frame now, e.g.
like shown in the following example. Because the current tool is still
the text tool, you can simply type into the selected frame. You will
always recognize a selected frame in text edit mode by at least one
visible text ruler above the frame. Your postal address will probably
not fit completely into the text frame.

Can you guess what's coming next? – Right, we should define
the font size for this text frame as it is too large right now.
- Select the whole text in the frame by choosing
Select
All
in the Edit menu. (Alternatively, you can press [Command][A]
and get familiar with the menu short cuts by and by.) The text is
selected now (i.e. it is highlighted in blue).
- Open the Text inspector and have a look at its parameters.
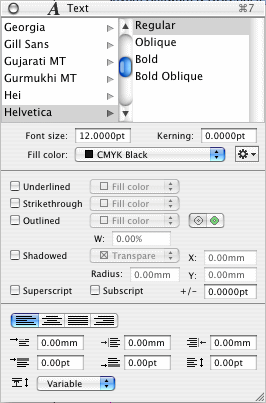
Your Text inspector will probably show similar values.
- Change the font size for the selected text. Therefore, click
into the edit field
Rozmiar czcionki
and enter the value
7
. There is no need to enter 7.0000pt
or 7.0
.
iCalamus will format the value automatically. You may also decrease
the value with the [Down Arrow] key on your keyboard in steps of 0.1pt
or with [Shift][Down Arrow] in full units.
Now your document should look like in this image: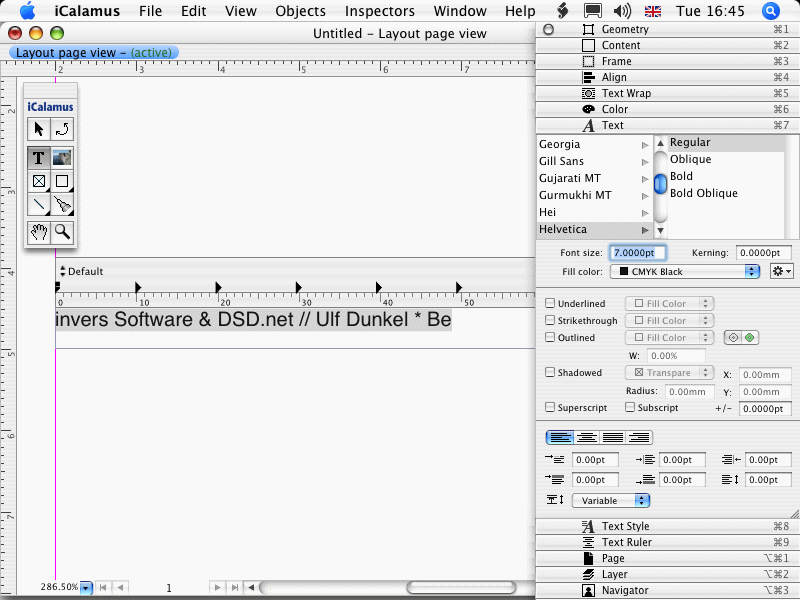
- Please complete your address text. When you are done, your text
frame should look like this one.

- We believe that the sender address text should be centered in
the frame, don't you? No problem. Open the Text Ruler inspector.
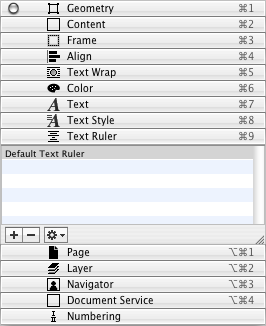
- There you find a list of text rulers which currently only
contains the default ruler. Don't touch it, but click on the [+]
button to create a new text ruler.
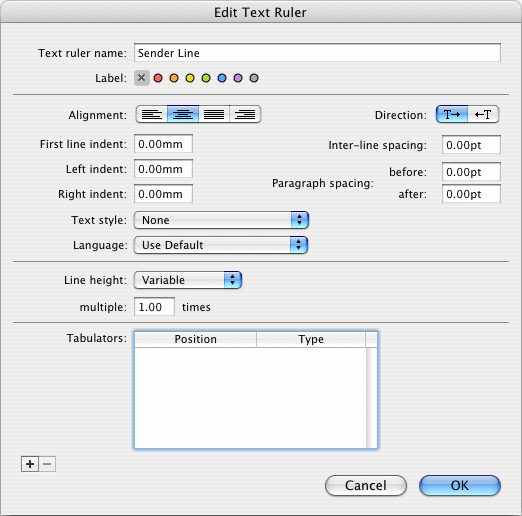
- Adjust the new text ruler parameters like shown in the next
figure. When you close the dialog with [OK], the new ruler will be
inserted in the text ruler list and it will be used in your text frame
automatically.
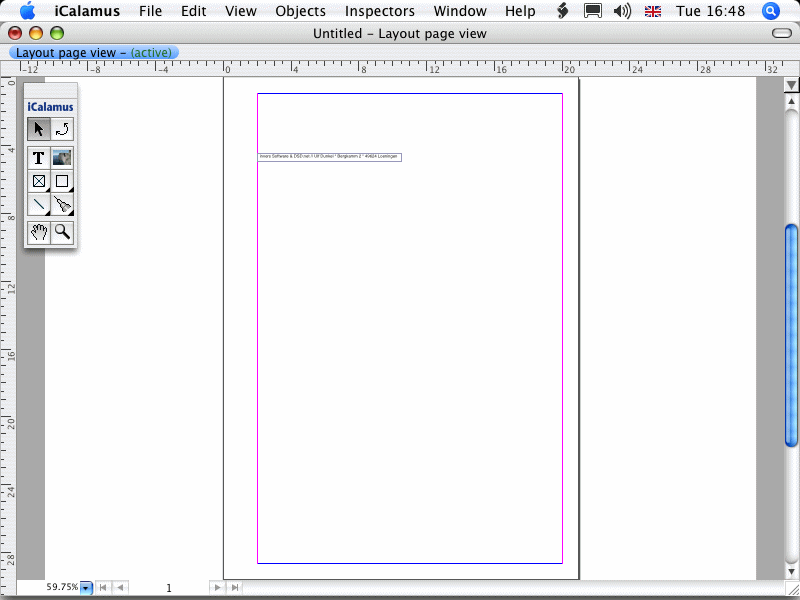
- Your sender address line text frame is done for now. Choose
Deselect All
in the Edit menu to deselect the text frame.
- Your document should now look similar to the following image.
Copyright © invers Software & DSD.net (Główna)
Ostatnie zmiany 13. czerwiec 2015
